I. Introduction
Importance of a well-designed website
What is Webflow?
Advantages of using Webflow for website design
II. Getting started with Webflow
Signing up for Webflow
Understanding the Webflow interface
Choosing a website template or starting from scratch
III. Designing a website using Webflow
Layout and Structure
Styling your website
Building and customizing pages
IV. Optimizing your website for performance and responsiveness
Testing your website on different devices
Optimizing images and media files
Improving website load times
V. Launching and maintaining your Webflow Website
Publishing your website
Setting up a custom design
Updating and maintaining your website
V. Conclusion
Final thoughts on designing a website using Webflow
In today’s digital age, having a well-designed website is crucial for any business or individual looking to establish an online presence. A website not only serves as a representation of your brand, but it’s also an effective tool for generating leads, building relationships with customers, and ultimately driving sales.
Importance of a Well-Designed Website
Web design is an essential aspect of building a website that will attract and retain visitors. A well-designed website can help increase brand awareness, improve user experience, and ultimately drive conversions. On the other hand, a poorly designed website can turn off visitors, resulting in high bounce rates and low engagement.
What is Webflow?
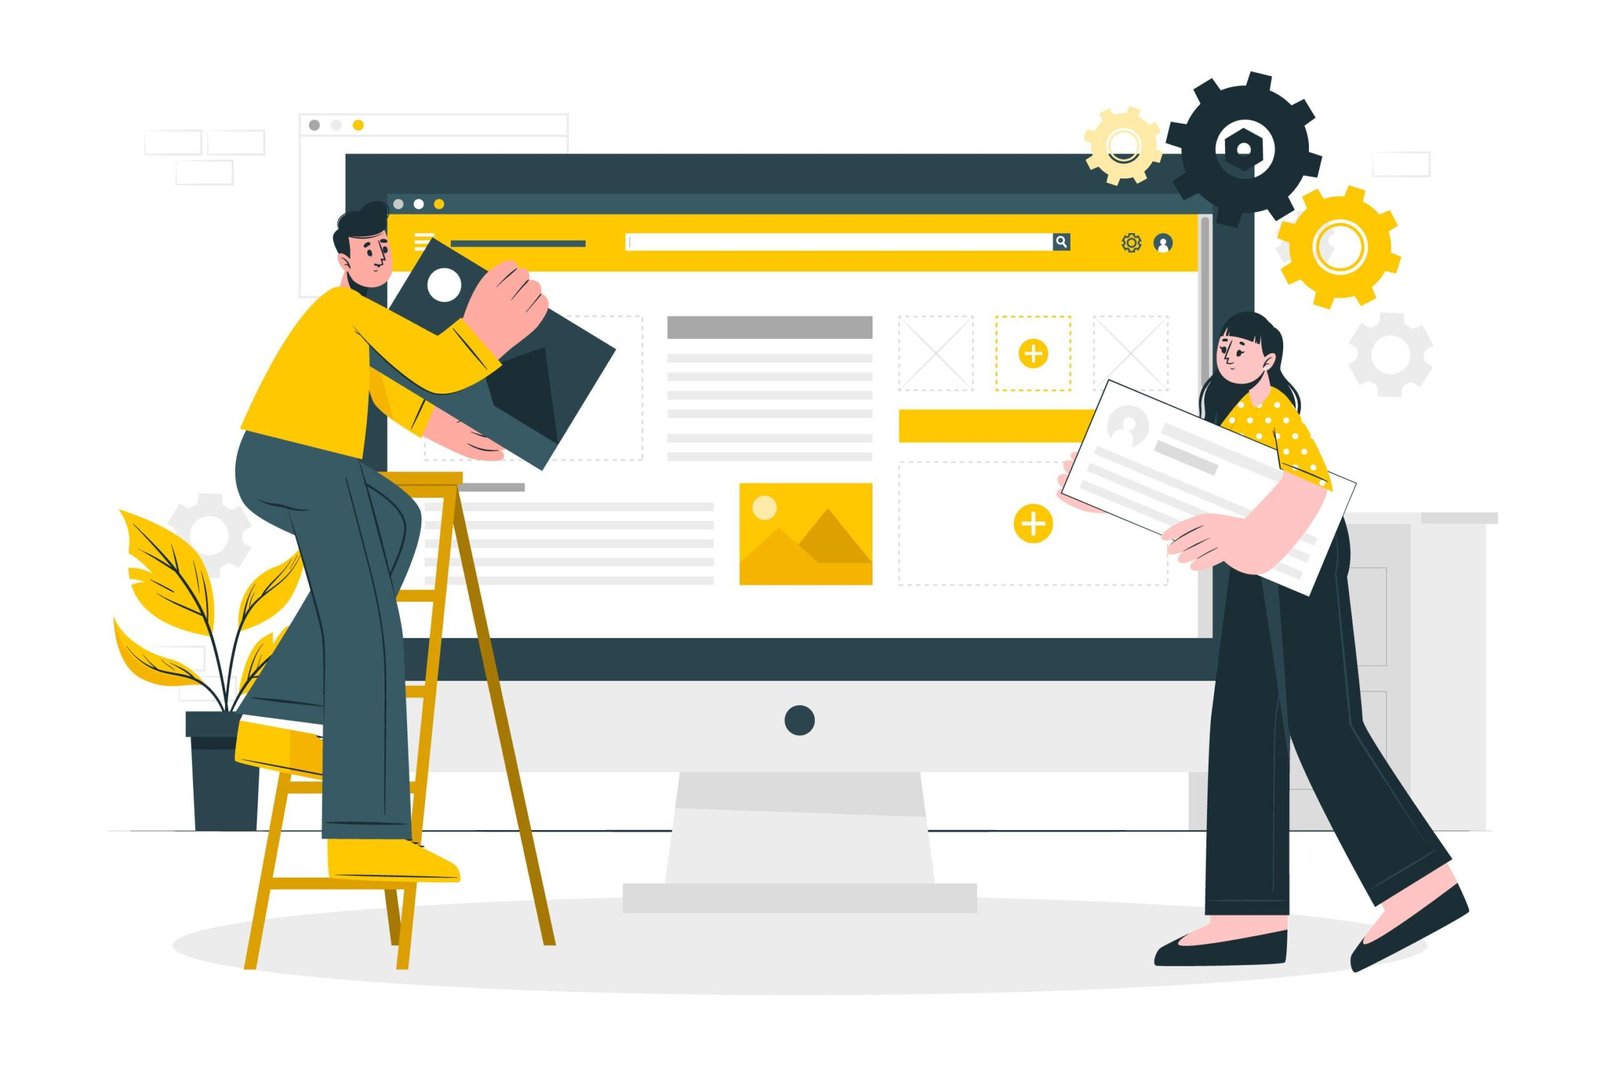
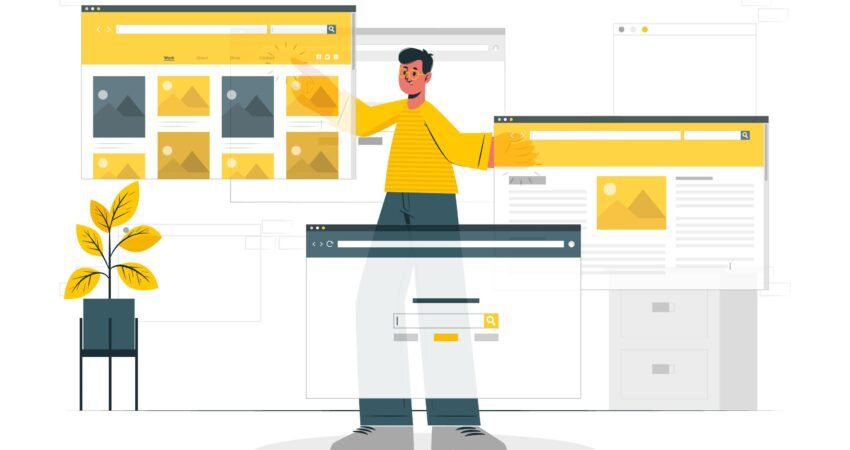
Webflow is a powerful platform that enables you to design and launch a stunning website without any coding experience. It’s a cloud-based web design and development tool that provides a visual editor and a range of design options, allowing you to create a website that’s unique and tailored to your specific needs.
Advantages of Using Webflow for Website Design
Webflow offers a range of benefits that make it an ideal choice for website design, including:
- User-friendly interface: You don’t need any coding knowledge to use Webflow, thanks to its visual editor and drag-and-drop functionality.
- Extensive design options: From fonts and colors to animations and interactions, Webflow provides a range of design options to create a website that’s unique and tailored to your brand.
- Cloud-based platform: Webflow is a cloud-based platform, which means you can access your website from anywhere, at any time, without needing to install any software on your computer.
Getting Started with Webflow
Signing up for Webflow
To get started with Webflow, you need to sign up for an account. The process is straightforward and only requires your email address and a password. Once you sign up, you’ll have access to the Webflow editor and can start building your website.
Understanding the Webflow Interface
Webflow’s interface is intuitive and user-friendly, but it can take some time to get used to. Here are some key components of the interface to keep in mind:
- Navigator: Allows you to view the structure of your website and navigate between pages.
- Canvas: The area where you design and layout your website.
- Style Panel: Where you can adjust the design and styling of different elements on your website.
- Elements Panel: Contains all the elements you can add to your website, including headings, text, images, and more.
- Settings Panel: Where you can adjust settings for different elements, pages, and your overall website.
Choosing a Website Template or Starting from Scratch
Webflow offers a range of pre-designed templates that you can use as a starting point for your website. These templates are customizable and can be tailored to your specific needs. Alternatively, you can start from scratch and build your website from the ground up. The choice is up to you and depends on your design preferences and goals.
Designing a Website using Webflow
Once you’ve signed up for Webflow and familiarized yourself with the interface, it’s time to start designing your website. The following steps will guide you through the process:
Layout and Structure
First, you’ll need to plan out the layout and structure of your website. This involves deciding on the number of pages you’ll need and how they will be linked together. You can use the Webflow canvas to drag and drop different elements onto your page and arrange them as you see fit.
Styling your Website
Once you have your website layout in place, it’s time to start styling your website. This involves choosing fonts, colors, and other design elements to give your website a cohesive look and feel. Webflow offers a range of design tools and features that make it easy to customize your website’s style.
Building and Customizing Pages
With the layout and styling in place, it’s time to start building and customizing individual pages on your website. This involves adding text, images, videos, and other content to your pages, and customizing their layout and design. Webflow makes it easy to create pages that are optimized for different devices, such as desktops, tablets, and smartphones.
Optimizing for Performance and Responsiveness
As you wrap up the design of your website using Webflow, it’s important to ensure that it’s not only aesthetically pleasing but also optimized for performance and responsiveness. In this section, we’ll cover some tips and best practices for optimizing your website using Webflow.
Testing your website on different devices
One important aspect of website optimization is ensuring that your website looks and functions properly on different devices, such as desktop computers, laptops, tablets, and mobile phones. Webflow makes this process easy by allowing you to preview your website on different devices directly within the editor. Simply click on the device icons in the top bar to switch between desktop, tablet, and mobile views. You can also adjust the size of the preview window to match the screen size of your target device.
Optimizing images and media files
Large image and media files can significantly slow down your website’s load times, which can negatively impact user experience and search engine rankings. To optimize your images and media files for the web, consider the following tips:
- Use compressed file formats like JPEG and PNG instead of uncompressed formats like BMP and TIFF.
- Reduce the resolution and dimensions of your images to match the size they’ll be displayed on your website.
- Use Webflow’s built-in image compression and optimization tools to further reduce file size without sacrificing quality.

Improving website load times
Website load times are a critical factor in user experience and search engine rankings. Here are some tips for improving your website’s load times:
- Minimize the use of large images, videos, and other media files.
- Use Webflow’s native code editor to minimize and optimize your website’s code.
- Take advantage of Webflow’s built-in hosting and content delivery network (CDN) to ensure fast and reliable website performance.
By following these tips and best practices, you can optimize your website for performance and responsiveness, ensuring that your visitors have a positive experience no matter what device they’re using to access your website.
Launching and maintaining your Webflow website
Launching and maintaining your Webflow website is a straightforward process. Maintaining your Webflow website involves regular updates of content, monitoring performance metrics, and maintaining security. You should also backup your website, update software and plugins, and use strong passwords and two-factor authentication.
Publishing your website
Once you’ve designed your website using Webflow, you need to publish it. Here’s how you can do it:
- Export your code – Before publishing your website, you need to export your code. To do this, go to the “Export” tab in the Webflow designer, and select the appropriate settings for your website.
- Choose a hosting provider – There are many hosting providers you can choose from to host your Webflow website. Some of the most popular ones include Webflow Hosting, Netlify, and Amazon Web Services.
- Upload your code – Once you’ve chosen a hosting provider, you need to upload your code. You can do this using FTP or by using the hosting provider’s dashboard.
- Test your website – After uploading your website, you need to test it to make sure everything is working correctly. Make sure to check all links, images, and forms to ensure they’re functioning correctly.
Setting up a custom domain
If you want your website to have a custom domain, you need to set it up. Here’s how you can do it:
- Purchase a domain – You need to purchase a domain from a domain registrar. Some popular domain registrars include GoDaddy, Namecheap, and Google Domains.
- Connect your domain – Once you’ve purchased a domain, you need to connect it to your Webflow website. You can do this by adding a CNAME record in your domain registrar’s DNS settings.
- Set up SSL – To ensure your website is secure, you need to set up SSL. You can do this by enabling SSL in your Webflow project settings and installing an SSL certificate on your hosting provider.
Updating and maintaining your website
Once you’ve launched your website, you need to keep it updated and maintained. Here are some tips for doing that:
- Back up your website – It’s essential to back up your website regularly. You can do this using your hosting provider’s dashboard or by using a backup plugin.
- Update your content – Make sure to update your website’s content regularly. This will keep your visitors engaged and ensure your website stays relevant.
- Monitor your website’s performance – Keep an eye on your website’s performance metrics, such as page load speed and bounce rate. This will help you identify any issues that need to be addressed.
- Maintain your website’s security – Keep your website secure by updating your software and plugins regularly, using strong passwords, and enabling two-factor authentication.
Conclusion
In conclusion, Webflow is an excellent tool for designing a website without any coding knowledge. By following the steps outlined in this post, you can launch and maintain a beautiful and functional website using Webflow. From exporting the code to setting up a custom domain and SSL, Webflow provides a simple and intuitive solution for creating a professional website. Regular maintenance and updates are crucial to ensure your website stays relevant and secure, so make sure to keep on top of these tasks to ensure your Webflow website continues to thrive.
The following post may interest you –
How to Conduct an SEO Audit for Your Website
Expert Tips for a Flexible and Effective Web Development Design Process

